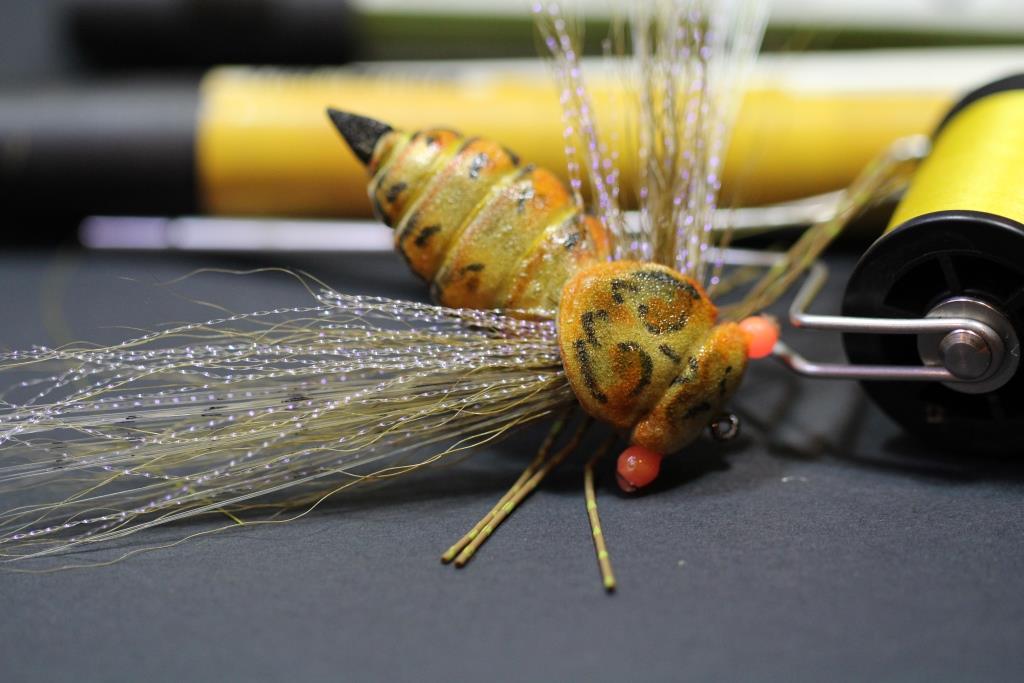
Cicada X . Xtra- 2016 version
There was many Cicada pattern that I have tied... this is one which I like most and simplified.
Materials list:
Close Cell foam - 3mm thk
Luminous bead + mono line
rubber legs
UV flashabou
Bucktail
some transparent fiber from your paint brush
Toothpick or Ice cream stick
Loons soft head
Markers

Picture step by step tying instruction:

Cut the foam as per the shape, insert a black foam and fused both together ( edge only )

Use a nail polisher as the support... insert your foam body

Tie in the segment

trim the edge so the body looks nice


Use a permanent marker and paint the body to mimic the colour of the cicada in your area

Use a toothpick, punch a hole at the center of bottom ( to the location where your hook will peel thru ), insert the hook with the hook eye first... this will make sure your hook will always at the right position

Tie in a pair of toothpick or a pre-cut Ice cream stick... these will create a good 'flat' base for your foam to tie on and will stop the foam from twisting

Tie down the foam body, also tie down the black foam, you may choose to drop a drop of super glue before you tie it down but the flat wooden base is actually pretty strong to hold the foam.

Cut the head profile foam piece and insert in from front

Tie in the eye... and then tie in the paint brush fibers, flashabou and bucktail ( or any long deer/elk hair you you have )

fold the foam over, drop a drop of super glue and tie down just behind the eye

use a needle to bring the pre-knoted rubber legs thru the foam

apply some Loons soft head on the foam, this will help keep your marker's colour and protect the fly


The soft head will also keep the rubber legs in place.
Cheers and Happy tying
My recipe from now on. Just tied a few these past days! Thanks!!! Congratulations Dron!
ReplyDeleteThanks. Great looking fly. Going to tie some up for this summer.
ReplyDelete